Choosing the right roller for your driveway sealer can make a big difference in the final appearance and longevity of your driveway. Explore various types of rollers, from road rollers to specialized sealer application tools, to achieve an effective seal.
Understanding Driveway Sealers and Their Importance
Driveway sealers are super important for keeping your pavement looking good and lasting longer. They help protect against different weather conditions and other wear and tear. Knowing the types of sealers out there can really help you pick the right one for your driveway.
Types of Driveway Sealers
There are a few main types of driveway sealers, each with its own perks that suit different needs:
- Acrylic Sealers: These are water-based and give a nice shiny finish. They’re easy to apply and do a great job protecting against UV rays, which is perfect if you live in a sunny area.
- Epoxy Sealers: If you want something tough, epoxy sealers are the way to go. They create a hard surface that resists chemicals and stains, making them ideal for concrete driveways.
- Urethane Sealers: These sealants are flexible and stick well, so they work great in places where temperatures change a lot. They can expand and contract without cracking.
- Coal Tar Sealers: Often used on asphalt driveways, coal tar provides solid protection against oil spills and weather damage. Just keep in mind that they have some environmental concerns due to their chemical makeup.
Choosing the right sealer depends on what material your driveway is made from and what kind of protection you need.
Benefits of Applying a Driveway Sealer
Using a driveway sealer has tons of benefits that can boost both how your driveway works and how it looks:
- Protects Against Weathering and Wear: Sealants form a barrier that keeps your driveway safe from harsh weather like rain, snow, or sun damage. This helps prevent cracks from freeze-thaw cycles.
- Enhances Appearance and Curb Appeal: A fresh coat of sealer can make an old driveway look brand new by restoring its color and giving it a smooth finish that really improves curb appeal.
- Extends the Lifespan of the Driveway: Regularly sealing your driveway helps stop damage from heavy traffic or environmental stressors. This simple step can really make your pavement last longer.
In short, knowing about the different types of driveway sealers along with their benefits helps homeowners make smart choices about maintaining their driveways. Proper sealing not only makes your driveway look better but also keeps it strong for years to come!
Selecting the Right Roller for Driveway Sealer Application
Types of Rollers for Driveway Sealers
When you want to apply driveway sealant well, it’s super important to know about the different types of rollers out there. Picking the right roller can really change how your driveway looks and lasts.
1. Road Rollers
Road rollers are heavy machines made for big jobs. They’re great for asphalt driveways and come in a few types:
- Towable Road Rollers: These attach to vehicles and work well for home projects, helping you cover large areas fast.
- Ride-on Road Rollers: These let operators sit while they work, which is comfy for larger areas.
2. Specialized Sealer Application Tools
For smaller or more detailed tasks, using specialized tools might be better:
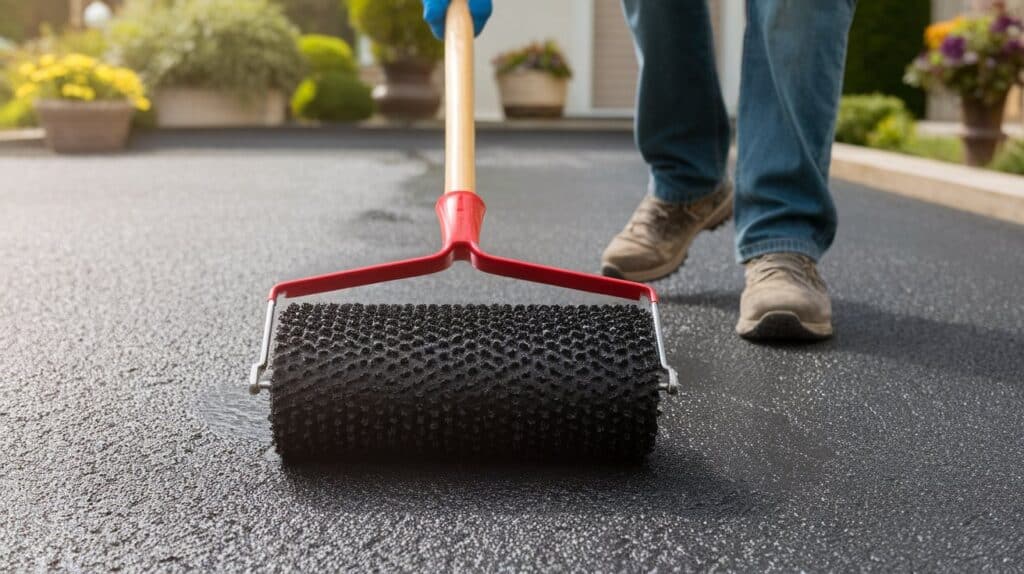
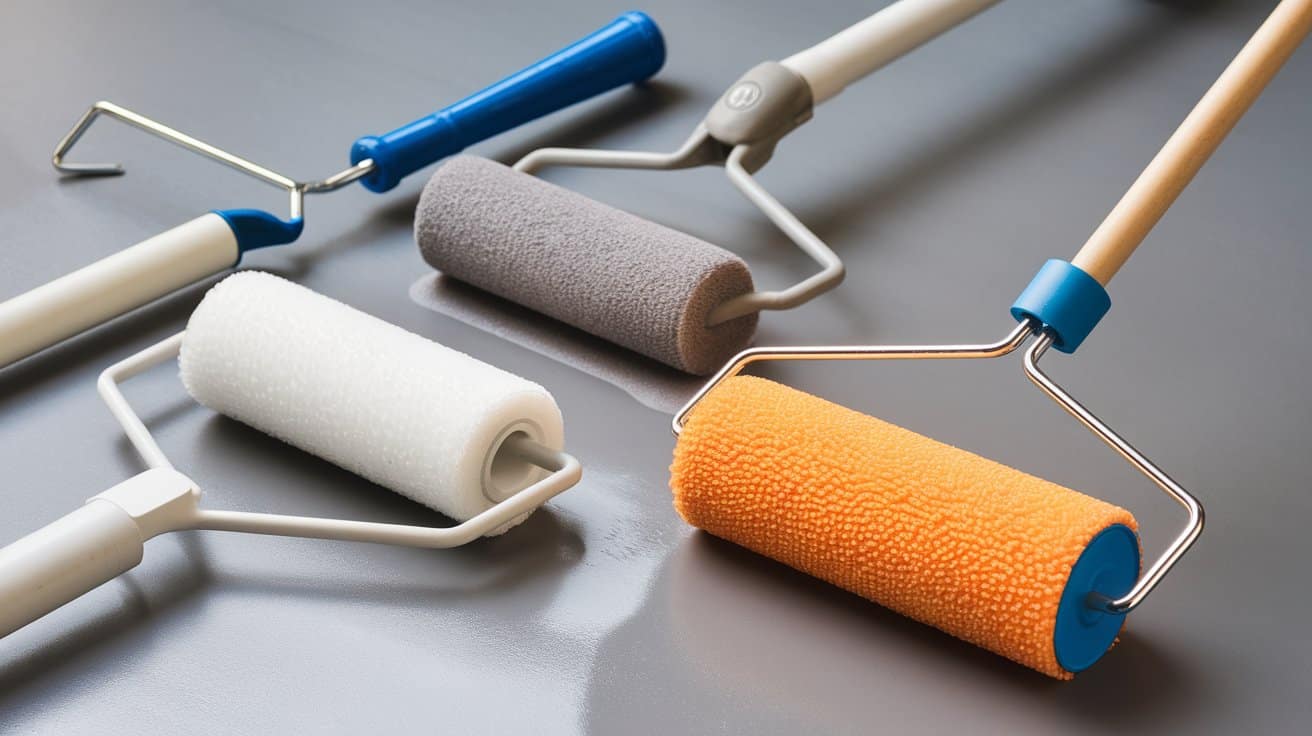
- Brush Rollers: These give a smooth finish and are good on rough surfaces, making sure everything is even.
- Padded Rollers: Padded rollers spread sealants evenly on different surfaces, so they’re handy no matter what your driveway looks like.
Factors to Consider When Choosing a Roller
Picking the right roller involves some key points that can make your sealing project go smoothly.
Size and Weight of the Driveway
Bigger driveways might do better with road rollers since they can cover large spaces quickly. If your driveway is smaller or has tricky spots, specialized tools could be a better choice.
Type of Sealer Being Used
Different sealants are thick or thin; that’s why it’s important to choose a roller with the right nap size. For thicker sealants like those used on asphalt driveways, you’ll need a roller with a thicker nap to make sure it sticks well and covers properly.
Desired Application Thickness
Think about how thick you want your sealer layer before picking your roller type. Thicker layers may need stronger equipment, while lighter options might work fine for thinner coats.
Additional Considerations
Before you decide which roller to use, keep these extra things in mind:
- You might need other tools like squeegees or long-handle paint rollers to help with applying the sealer.
- Make sure your driveway is clean and clear of debris before starting; this helps the sealer stick better and look nice when finished.
By thinking carefully about these factors and knowing what tools are available, you’ll set yourself up for an effective application that makes your driveway look great and last longer!

Step-by-Step Guide to Using a Roller for Driveway Sealer Application
Preparing the Driveway
Getting your driveway ready is super important for a good seal. First, clear away any debris like leaves, dirt, and stones. A clean surface helps the sealer stick better. You can use a pressure washer or just a broom to do this job right. After cleaning, let the driveway dry completely; this might take several hours or even a whole day depending on the weather.
Also, check for cracks or damage before you start sealing. If you spot any problems, fix them with an appropriate filler first. This little extra step will help your seal coating last longer and work better.
Applying the Sealer
Once your driveway is all set and dry, it’s time to put on the sealer. Picking the right product is key; whether you go for an acrylic or epoxy-based sealer depends on what you need. Make sure to follow the manufacturer’s instructions closely about mixing and applying.
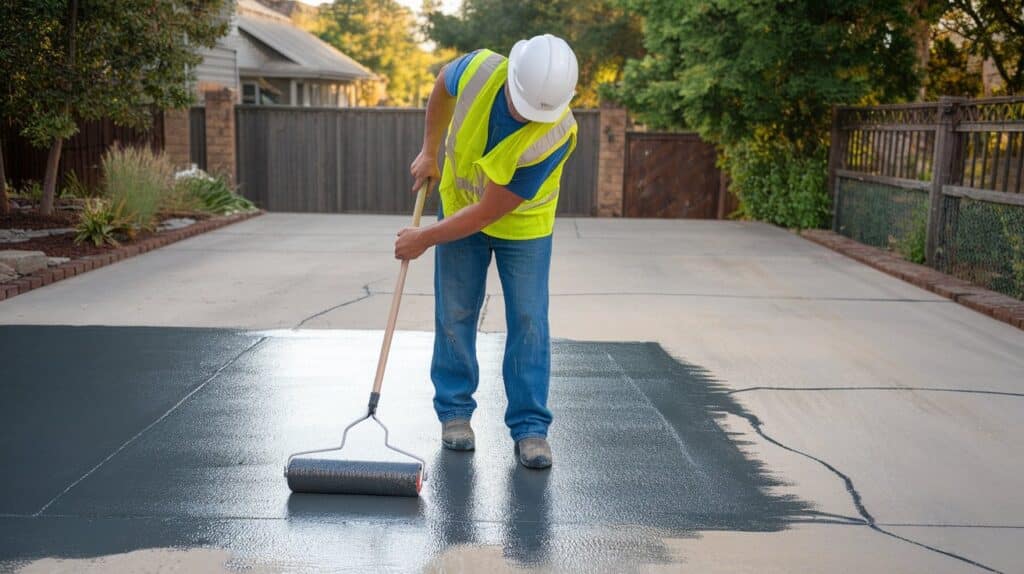
Start by pouring enough sealer onto sections of the driveway that you can manage before it dries out. Use your roller to spread it evenly across the surface, making sure there are no gaps or streaks left behind.
Rolling the Sealer
When it’s time to roll out the sealer, choosing the right roller matters a lot for effective application. For bigger driveways or asphalt surfaces, heavy-duty rollers are best—these include road rollers or special paint rollers made just for sealers.
As you roll out the sealer, keep your strokes even and overlap each pass slightly to avoid streaks or spots being missed. Usually, two coats are recommended for great protection and appearance; just remember to let each coat dry properly according to what your product says.
Final Checks After Application
After you’ve rolled on that final coat of sealer, try to maintain a wet edge while working so that you don’t end up with visible lines or uneven patches. Watch those drying times! Things like temperature and humidity can really change how fast everything dries.
If you see any bubbles popping up during application or while drying, gently roll over them with smooth motions using your roller to get rid of air pockets. Paying attention here will help ensure a nice finish that not only looks good but lasts longer too.
Following these steps will help you get a smooth and durable finish when applying driveway sealers using rollers suited for your needs. Proper preparation and careful application are key in keeping your driveway looking great!
Troubleshooting Common Issues with Roller Application
Roller Marks in the Sealer
When you apply driveway sealer, roller marks can be a real pain. These marks can ruin the look of your driveway, making it seem unprofessional. To avoid roller marks, try using a finer-napped roller. This type helps spread the sealer more evenly, giving you a smoother finish. Also, remember to roll the sealer in multiple directions. This technique blends any inconsistencies and reduces those pesky visible marks. By taking these simple steps, you’ll end up with a much nicer-looking driveway.
Bubbles in the Sealer
Bubbles in the sealer are another common issue that many people face during application. They often pop up if you apply the sealer too thick or trap air while rolling. To prevent this from happening, it’s best to apply thin coats of sealer and make sure you’re rolling thoroughly to get rid of any trapped air. If you see bubbles after your first coat, let it dry completely before adding more layers. This drying time stabilizes the first layer and helps reduce bubble formation later on.
Uneven Application
An uneven application can really mess up how your driveway looks. To get a consistent finish, use a level to check that your roller is applied evenly across all areas of the driveway. If some spots look thinner or patchy after your first coat dries, applying multiple coats will help create a uniform look. You might also want to do some light sanding between coats for better adhesion and an even surface.
Being aware of issues like roller marks, bubbles in the sealer, uneven applications, and proper surface prep is key for great results when sealing driveways. Using troubleshooting tips will not only improve your skills but also help protect your home’s driveway effectively over time. By tackling these common challenges head-on and taking preventive measures—like choosing quality tools—you’ll ensure that your driveway sealing project turns out both durable and visually appealing.

Additional Tips and Techniques for Effective Sealer Application
Apply the sealer on a warm, dry day
Picking the right weather is super important for your driveway sealing process. Try to apply the driveway sealer on a warm, dry day when temperatures are between 50°F and 90°F. This helps the sealant stick well and cure properly. Avoid rainy or very humid days because moisture can mess up the sealant’s effectiveness. Good weather means a stronger, longer-lasting seal.
Use a roller extension to reach hard-to-access areas
Using a long-handle paint roller or roller extension can really help you apply sealer evenly, especially in tricky spots like edges and corners of your driveway. This tool gives you better control, ensuring every part of your driveway gets covered without any missed spots. It’s a small investment that makes your sealing project much easier.
Clean the roller thoroughly after each use
Taking care of your tools is key for great results in driveway maintenance. After you’re done sealing, clean your rollers well. If you used water-based sealers, just rinse them with water; if you used solvent-based products, use the right solvents. Cleaning prevents leftover sealer from hardening on your tools, which helps them last longer and work better next time.
Reapply the sealer every 2-3 years to maintain protection
To keep your driveway looking good and protected, remember to reapply the sealer every two to three years. Regular maintenance not only extends its lifespan but also keeps it looking fresh. Watch out for signs like fading or cracking; these could mean it’s time for another coat. By keeping up with seal coating your home driveway, you’re protecting it from wear while boosting curb appeal.
Consider using eco-friendly options when possible
With more folks caring about the environment these days, choosing eco-friendly driveway sealers is becoming popular among homeowners. These products often have lower levels of volatile organic compounds (VOCs), making them safer during application and better for our planet. When picking a product, look for low-odor options that are both effective and environmentally friendly.
By following these tips during your application process, you’ll ensure an effective sealing job that protects your investment while enhancing curb appeal!

