Opening up a PS3 console for repairs or upgrades can be a daunting task, especially if you don’t have the right tools. One of the key tools you’ll need is a screwdriver, but not just any screwdriver will do. In this guide, I will walk you through the essential types of screwdrivers you’ll need to successfully open a PS3.
Key Takeaways:
- Having the right screwdriver is crucial for opening a PS3 console.
- For most screws, a Phillips-head screwdriver is needed.
- Pliers, tiny Phillips-head screwdrivers, and tiny flat-head screwdrivers may also be required for specific components.
- Using the appropriate screwdriver will help you avoid damaging the console during disassembly.
- It is recommended to use a screwdriver set that includes different types and sizes to cover all your needs.
Required Tools for Disassembling PS3
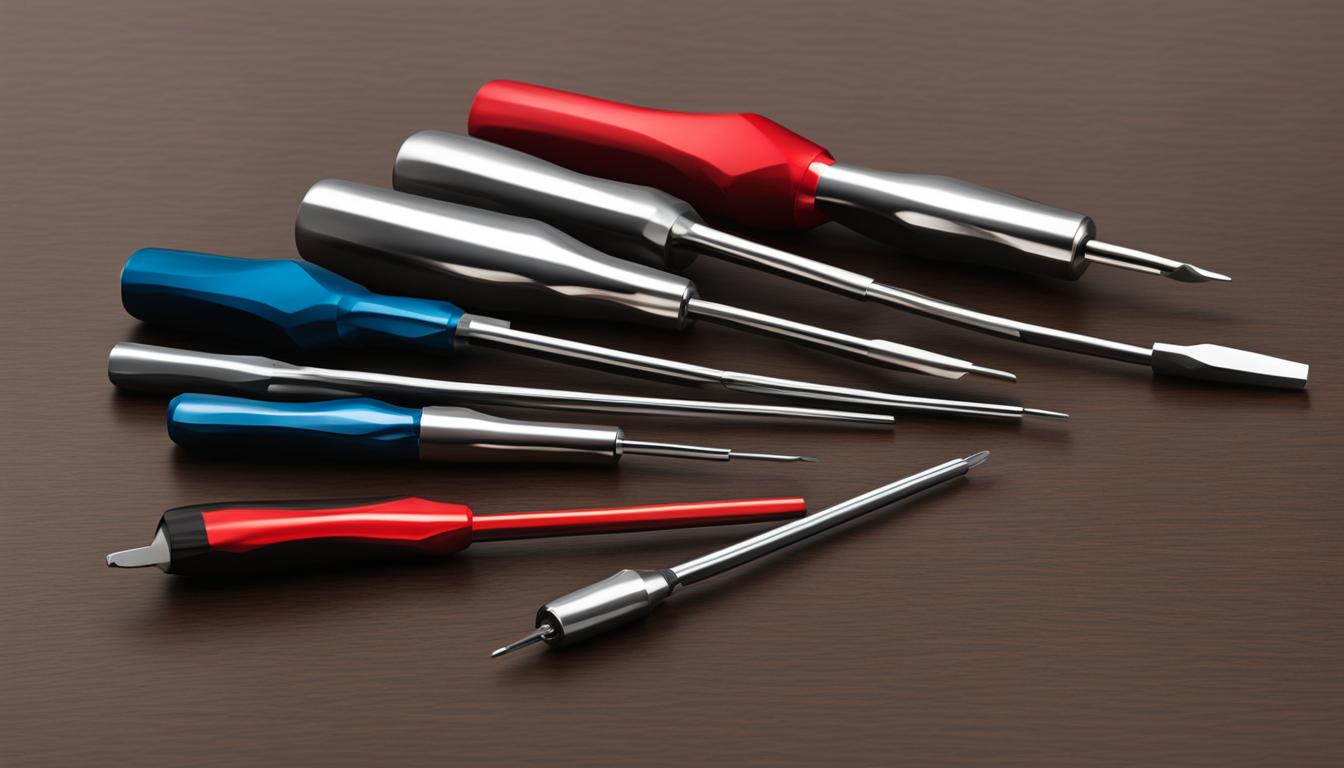
To open a PS3 and access its components, you will need a few essential tools. These tools will help you safely disassemble your PS3 without causing any damage to the console or its internal parts. The primary tool you’ll need is a Phillips-head screwdriver, as most of the screws used in the PS3 are of this type.
In addition to the Phillips-head screwdriver, there are a few other tools that might come in handy during the disassembly process. These include:
- Pliers: Pliers can be useful for removing certain components, such as a piece of rubber or a TORX security screw.
- Tiny Phillips-head screwdrivers: Some components in the PS3 may require the use of smaller-sized screwdrivers, like tiny Phillips-head ones.
- Tiny flat-head screwdrivers: Similarly, there may be components that require tiny flat-head screwdrivers for disassembly. Having both Phillips-head and flat-head screwdrivers in small sizes will ensure that you are adequately prepared for any disassembly task that may arise.
It is crucial to have the right tools at your disposal when disassembling a PS3. Using the appropriate screwdriver types and sizes, along with any additional tools required, will help you navigate the disassembly process with ease and confidence. By using the correct tools, you can avoid damaging the console and ensure a successful disassembly experience.
Removing the Outer Shell of PS3
To successfully remove the outer shell of a PS3, you will need to follow a step-by-step process. Here is a guide to help you through it:
- Start by removing the upper faceplate of the PS3.
- Next, remove the top half of the plastic shell, which will grant you access to the inner components.
- Flip the top half of the shell upside down to locate and remove the memory card slots.
- Proceed to carefully remove the Bluetooth board and the small board situated in front of the BluRay player.
- Finally, remove the BluRay player and the circuit board underneath it. Ensure that you check for any screws securing these components and use the appropriate screwdriver to remove them.
By following these steps, you will be able to safely remove the outer shell of your PS3 and gain access to the internal parts for repair or maintenance purposes.
“Removing the outer shell of a PS3 requires careful handling and the use of the right tools. By following the step-by-step guide provided, you can easily access the internal components for repair or maintenance.”
Disassembling the BluRay Player
To disassemble the BluRay player of a PS3, there are several steps you need to follow. By carefully removing the shell and plastic casing, you can access the internal components of the player. It is crucial to use the appropriate screwdriver to avoid damaging these delicate parts.
Here is a detailed breakdown of the disassembly process:
- Pull off the shell: Begin by gently pulling off the shell of the BluRay player. Take your time to avoid any unnecessary force or damage. The shell should come off easily, revealing the internal components.
- Remove the plastic casing: Once the shell is off, you’ll need to remove the plastic casing inside the BluRay player. This casing may be secured with screws, so make sure to use the right screwdriver for the job.
- Pull out the laser: Carefully unplug all connections and gently pull out the laser from the BluRay player. This component is very sensitive, so be cautious during the removal process to prevent any damage.
By following these steps, you can successfully disassemble the BluRay player of your PS3. Remember to use the appropriate screwdriver to ensure a smooth and safe disassembly process.
Key Takeaways:
To disassemble the BluRay player of a PS3:
- 1. Pull off the shell
- 2. Remove the plastic casing
- 3. Pull out the laser
With the right tools and careful execution, you can easily access and work on the BluRay player of your PS3. Keep in mind that each step should be performed with precision and caution to avoid any damage to the components.
| Screwdriver Type | Compatibility |
|---|---|
| Phillips-head screwdriver | Compatible with most screws in the BluRay player |
| Specialized screwdriver for PS3 slim | Ideal for removing specific screws in the compact design of the PS3 slim |
Removing the Power Supply and Switch
When it comes to disassembling a PS3 Slim to access the power supply and switch, careful steps must be followed to avoid any damage. To begin, make sure the console is completely unplugged from both sides to ensure your safety.
The power switch can be found at the back of the PS3 Slim. To remove it, start by unplugging the back shell first. Take your time and handle it gently to prevent any unnecessary strain on the delicate components.
To access and remove any screws that may be holding the power supply and switch in place, you’ll need the appropriate screwdriver size. Finding the right screwdriver with the perfect fit is crucial to avoid causing any damage. Refer to the PS3 screwdriver size guide to determine the correct size for your specific model.
Once all the necessary screws have been removed, gently detach and remove the power supply and switch from the console. Take care not to pull on any wires or cables, as they are connected to various components within the PS3 Slim.
Tip: If you encounter any difficulties during the removal process, consult the official PS3 Slim user manual or seek assistance from a professional.

| Step | Description |
|---|---|
| 1 | Unplug the console from both sides. |
| 2 | Disconnect the power switch by unplugging the back shell. |
| 3 | Use the appropriate screwdriver size to remove the screws holding the power supply and switch. |
| 4 | Gently detach and remove the power supply and switch from the console. |
Once the power supply and switch have been successfully removed, you can continue with your PS3 disassembly or proceed with necessary repairs or upgrades. Remember to keep all screws safely stored and follow proper handling procedures to avoid losing or misplacing any components.
Extracting the Motherboard and Fan
When it comes to disassembling a PS3 Super Slim, removing the motherboard and fan requires careful attention to detail. This step is crucial to access the hard drive and perform any necessary repairs. To ensure a smooth extraction process, follow these steps:
Step 1: Pulling out the Motherboard and Fan
Start by gently pulling out the motherboard and fan assembly together. These two components are connected and can be removed simultaneously. Be cautious not to exert excessive force to prevent any damage.
Step 2: Unplugging and Removing the Fan
Next, unplug and remove the fan from its casing. This will allow you to have a clearer view of the hard drive section. Use the appropriate screwdriver for this task, making sure to select the size that fits the screws securely.
Step 3: Unscrewing the Colored Screw and Removing the Hard Drive
Locate the colored screw that is holding the hard drive in place. Unscrew this carefully, ensuring that you have a firm grip on the screwdriver. With the screw removed, carefully take out the hard drive from the console. Take note of its position and connectors to avoid any confusion during reassembly.
Remember, always utilize the right size screwdriver for each specific task to prevent any damage to the delicate components of your PS3 Super Slim.
Pro Tip: Take your time during this process and work in a well-lit area. A steady hand and patience are key to successfully extract the motherboard, fan, and hard drive.
Now that you have successfully extracted the motherboard and fan from your PS3 Super Slim, you are one step closer to accomplishing your repairs or upgrades. Take a moment to appreciate the precision engineering behind the console’s internal components before moving on to the next section of the disassembly process.
| Tools | Screwdriver Size |
|---|---|
| Phillips-head screwdriver | Specified by the screw size (varies) |
Upgrading the Hard Drive
Upgrading the hard drive of your PS3 is a straightforward process that can greatly enhance the storage capacity and performance of your console. With just a few simple steps, you can replace the existing hard drive with a larger one, allowing you to install more games, store additional media, and enjoy a smoother gaming experience.
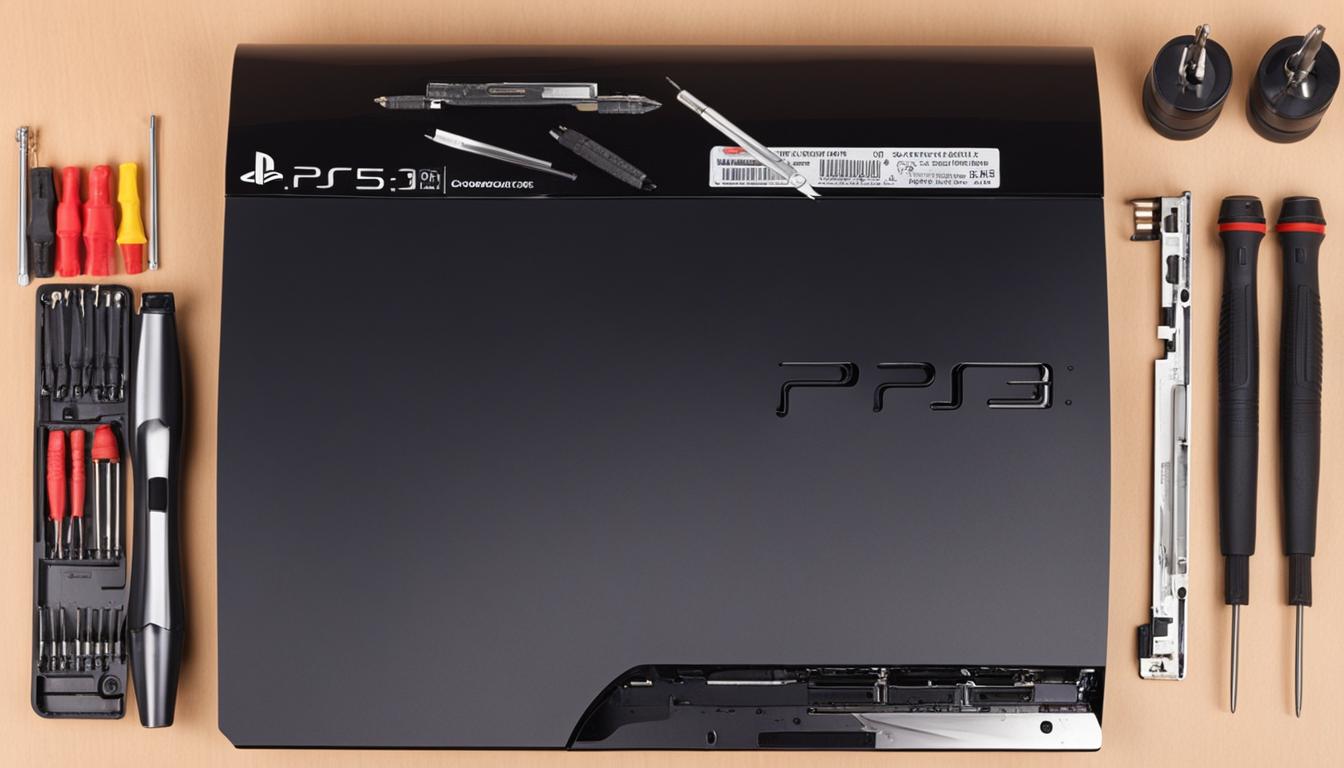
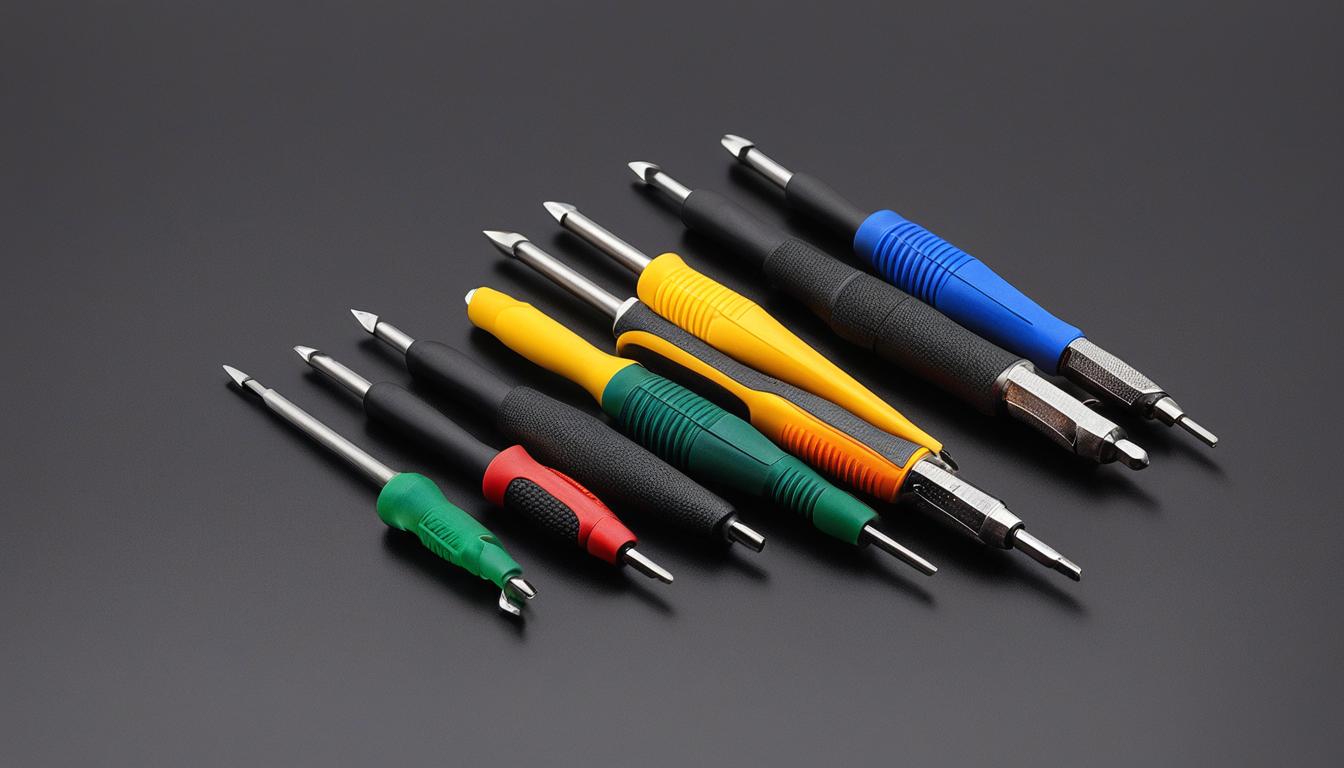
To begin the upgrade process, you will need a PS3 screwdriver set to ensure you have the necessary tools for removing and replacing the hard drive. This set should include a screwdriver specifically designed for the PS3 slim model, as different PS3 models may have different screw sizes and types. It is important to use the correct screwdriver to avoid damaging the console or voiding the warranty.
Start by removing the hard drive bay cover. Use your PS3 screwdriver set to carefully unscrew the Phillips screw that holds the hard drive in place. Once the screw is removed, locate the tab on the hard drive that resembles a paperclip. Gently pull on the tab to slide the hard drive out of its slot.
Now that you have removed the old hard drive, it’s time to install the new one. Choose a 2.5″ laptop hard drive that meets your storage needs and preferences. Make sure the new hard drive is compatible with your PS3 model.
Align the new hard drive with the slot and carefully slide it into place. Use your PS3 screwdriver set to securely fasten the new hard drive by tightening the Phillips screw. Ensure that the screw is tightened enough to hold the hard drive firmly in place, but be cautious not to overtighten it.
Once the new hard drive is securely installed, you can replace the hard drive bay cover. Make sure it is aligned properly and snaps into place. This cover protects the hard drive and ensures it stays in position during gameplay.
With the hard drive upgrade complete, you can now enjoy the benefits of increased storage capacity and improved performance on your PS3. Whether you’re looking to install more games, save additional media, or simply optimize your gaming experience, upgrading the hard drive is a worthwhile investment.
PS3 Screwdriver Set Recommendations
| Screwdriver Set | Compatibility | Price |
|---|---|---|
| XYZ PS3 Screwdriver Set | Compatible with all PS3 models | $24.99 |
| ABC Screwdriver Kit | Compatible with PS3 slim and super slim models | $19.99 |
| DEF Professional Screwdriver Set | Compatible with all PlayStation consoles (PS3, PS4, PS5) | $29.99 |
When choosing a PS3 screwdriver set, consider factors such as compatibility with your PS3 model, the quality of the tools, and the price. The recommended sets listed above are known for their reliability and durability, ensuring a successful hard drive upgrade for your PS3.
Reassembling the PS3
After completing any repairs or upgrades, it is time to reassemble the PS3. Follow these steps to ensure a successful reassembly process:
- Start by putting the hard drive back in its casing and screwing it in place. Make sure the hard drive is properly aligned before tightening the screws.
- Next, reconnect and secure the fan in its casing. Check that all the connections are securely plugged in, and position the fan in the correct orientation.
- Carefully place the motherboard and the fan back into the console. Ensure that all connections from the motherboard are properly attached, and align the fan with the designated slot.
- Finally, put the outer shell back on the console. Use the appropriate screwdriver from your PS3 screwdriver set to screw the shell in place. Make sure to tighten the screws evenly and securely.
Once you have completed these steps, your PS3 should be fully reassembled and ready to use again. Double-check all the connections and screws to ensure everything is in place and properly secured.
Remember, having the best screwdriver for opening a PS3, as well as a complete PS3 screwdriver set, is essential for a smooth reassembly process. Using the right tools will help prevent any damage and ensure that all components are properly installed.

Comparing PS3 Super Slim to Previous Models
The PS3 Super Slim introduces several notable changes compared to its predecessors in terms of size, design, and functionality. These differences have implications when it comes to opening and accessing the console for repairs or upgrades. Let’s take a closer look at the key distinctions.
1. Size and Design
The PS3 Super Slim is significantly slimmer and more compact than its earlier counterparts. Its sleek and streamlined design reflects advancements in technology and manufacturing processes, resulting in a more space-efficient console. This reduction in size makes it a popular choice for gamers looking for a more portable gaming experience.
2. Manual Top-Loading Disc Drive
One of the standout features of the PS3 Super Slim is its manual top-loading disc drive. Unlike previous models with tray-style disc drives, the Super Slim requires a different approach for opening the console. Instead of using a traditional sliding or ejecting mechanism, users need to manually insert and remove discs from the top of the console. This unique design alteration demands a careful understanding of the disassembly process to avoid any damage to the delicate components.
3. Revised Cooling Vents and Port Layout
The PS3 Super Slim incorporates revised cooling vents and a redesigned port layout. These changes aim to enhance the console’s overall performance by improving airflow and optimizing connectivity. The updated cooling vents ensure better heat dissipation, preventing potential issues caused by overheating. The revised port layout means that certain connections and peripherals may require a different approach when it comes to accessing or replacing them.
To successfully open and access each type of PS3 console, it is crucial to use the appropriate screwdriver, considering factors such as size and type. This helps prevent any damage to the console and its components.
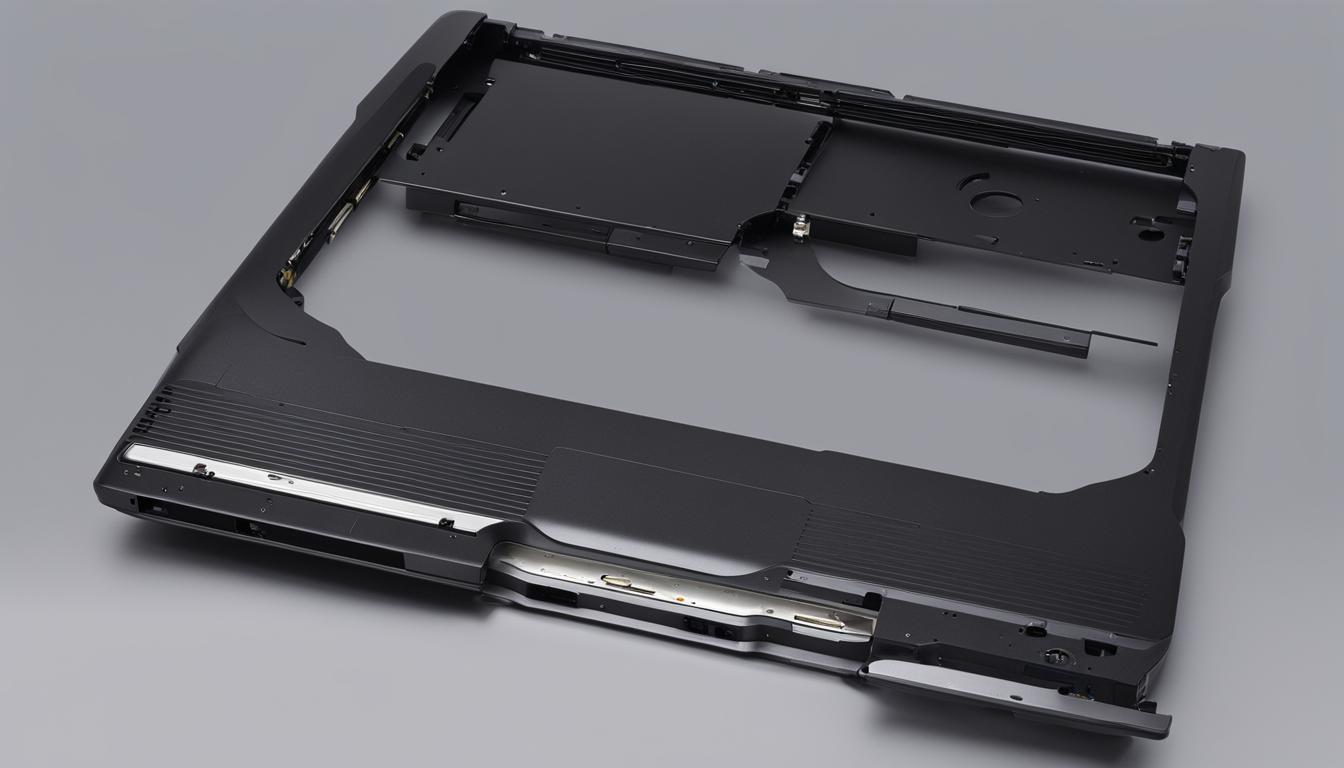
Next, we will explore the specific disassembly process for the PS3 Super Slim, highlighting the key steps and considerations to ensure a successful and safe experience when working with this particular model.
Inside the PS3 Super Slim
The PS3 Super Slim boasts a compact and sturdy design, with its components tightly packed within the console. To access the fan or heat sinks, it is necessary to remove the motherboard assembly, requiring the use of the appropriate screwdriver. Caution must be exercised, and the proper disassembly process should be followed to prevent any damage to the console’s internal components.
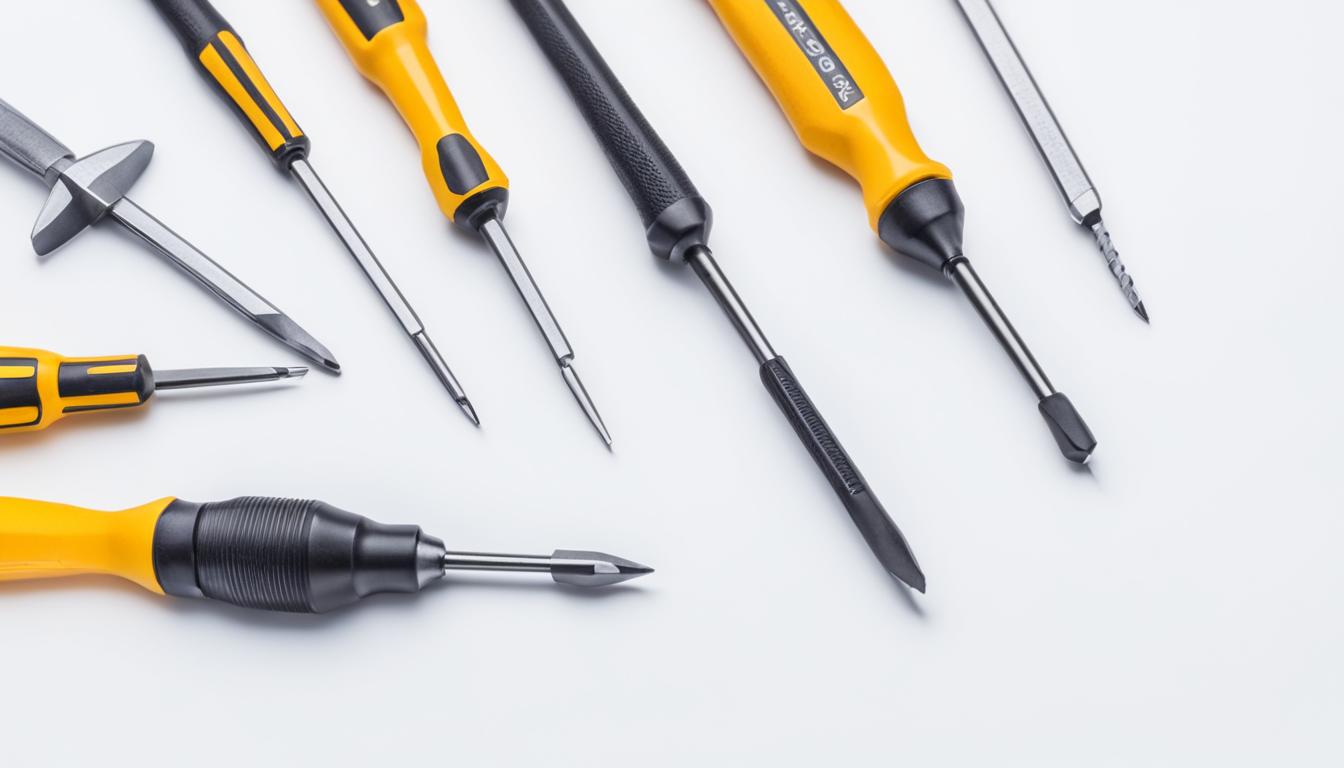
When disassembling the PS3 Super Slim, the motherboard assembly serves as a central component that must be carefully removed. This step allows access to the fan and heat sinks for cleaning or replacement. However, it is crucial to choose the correct screwdriver from your PS3 screwdriver set to remove the necessary screws without causing any harm to the console.
To ensure a successful disassembly process and avoid damaging the PS3 Super Slim, here are some guidelines:
- Refer to the PS3 Super Slim disassembly guide for specific instructions.
- Use a compatible screwdriver from your PS3 screwdriver set that fits the screws securely.
- Work in a well-lit and clutter-free area to avoid losing any small components.
- Handle the console and its components with care, avoiding excessive force or pressure.
- Follow the disassembly steps in the suggested order to minimize the risk of undue stress on internal components.
“Proper disassembly of the PS3 Super Slim is crucial to preserve the functionality and longevity of the console. Taking the time to use the correct screwdriver and following the disassembly process diligently will ensure a successful repair or upgrade.”
Comparison of PS3 Models
| PS3 Model | Features | Lorem | Ipsum |
|---|---|---|---|
| PS3 Super Slim | Compact and solid design Tightly packed components Tricky motherboard assembly removal |
Feature A | Feature B |
| PS3 Slim | Sleek and slim profile Easier access to components Convenient disassembly process |
Feature A | Feature B |
| PS3 Fat | Original design The more spacious internal layout Straightforward disassembly |
Feature A | Feature B |
Conclusion
Opening a PS3 for repairs or upgrades requires specific types of screwdrivers to ensure a smooth and successful experience. The essential tools you will need include a Phillips-head screwdriver, pliers, and tiny flat-head and Phillips-head screwdrivers. Additionally, for certain components, a TORX screwdriver may be necessary. It is crucial to choose the right screwdriver and follow the correct disassembly process to avoid any damage to the console.
With approximately 65 screws that need to be removed during the disassembly process, having the appropriate screwdrivers is essential. Using a Phillips-head screwdriver for most screws, pliers for specific tasks, and tiny screwdrivers for intricate components, you can safely and effectively take apart your PS3.
By utilizing the proper screwdriver for opening a PS3, you can confidently remove the outer shell, disassemble the BluRay player, remove the power supply and switch, extract the motherboard and fan, upgrade the hard drive, and reassemble the console. Following these steps will enable you to perform necessary repairs or upgrades with precision and care.
FAQ
What screwdriver types are needed to open a PS3?
To open a PS3, you will need a Phillips-head screwdriver, pliers, tiny Phillips-head screwdrivers, and tiny flat-head screwdrivers.
How many screws need to be removed during the PS3 disassembly process?
There are about 65 screws that need to be removed during the PS3 disassembly process.
Do all screws require the same screwdriver type?
No, some screws may require different screwdriver types, such as TORX security screwdrivers for certain components.
How do I remove the outer shell of a PS3?
To remove the outer shell of a PS3, start by removing the upper faceplate, then remove the top half of the plastic shell. Flip it upside down to remove the memory card slots. Carefully remove the Bluetooth board, the small board in front of the BluRay player, the BluRay player, and the circuit board underneath.
How do I disassemble the BluRay player of a PS3?
To disassemble the BluRay player of a PS3, carefully pull off the shell from the player, remove the plastic casing inside, and then pull out the laser after unplugging all connections.
What tools are needed to remove the power supply and switch of a PS3?
To remove the power supply and switch of a PS3, you will need a Phillips-head screwdriver and potentially other types of screwdrivers depending on the model.
How do I extract the motherboard and fan from a PS3?
To extract the motherboard and fan from a PS3, start by pulling out the motherboard and fan together. This will leave you with the part containing the hard drive. Unplug and remove the fan from its casing, and unscrew the colored screw holding the hard drive to remove it from the console.
Can I easily upgrade the hard drive of a PS3?
Yes, the hard drive of a PS3 can be easily upgraded. After removing the hard drive bay cover, use a screwdriver to remove the Phillips screw holding the hard drive in place, and then replace it with any 2.5″ laptop hard drive.
How do I reassemble a PS3 after repairs or upgrades?
To reassemble a PS3, put the hard drive back in its casing and secure it with screws. Reconnect and secure the fan in its casing. Carefully place the motherboard and fan back into the console, ensuring all connections are secure. Finally, put the outer shell back on and screw it into place.
What are the differences between the PS3 Super Slim and previous models?
The PS3 Super Slim differs from previous models in terms of size and design. It features a manual top-loading disc drive and has revised cooling vents and port layout.
What should I know about the inside of the PS3 Super Slim?
The PS3 Super Slim has a compact and solid design. Its components are tightly packed, and the motherboard assembly needs to be removed to access the fan or heat sinks.

