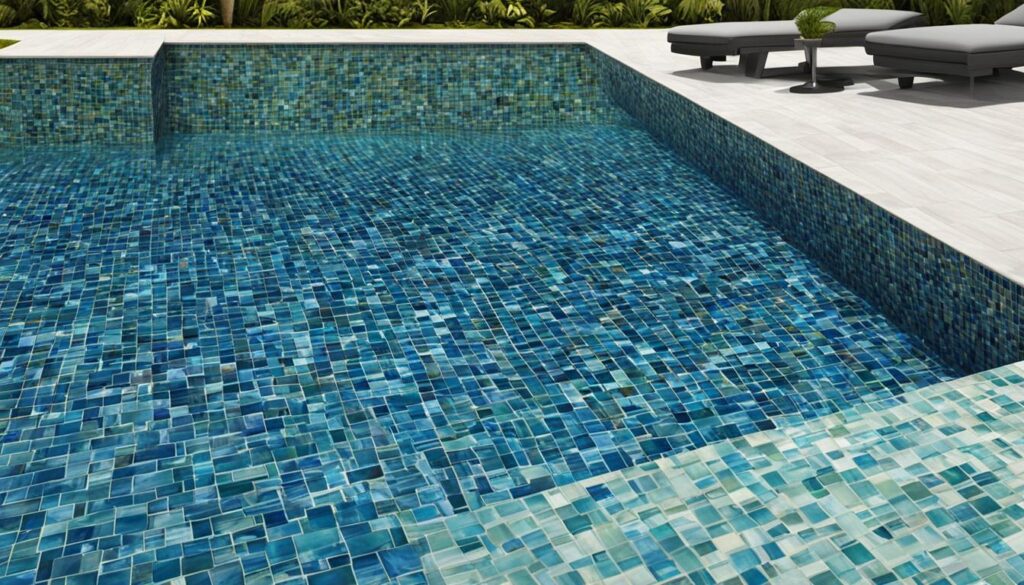
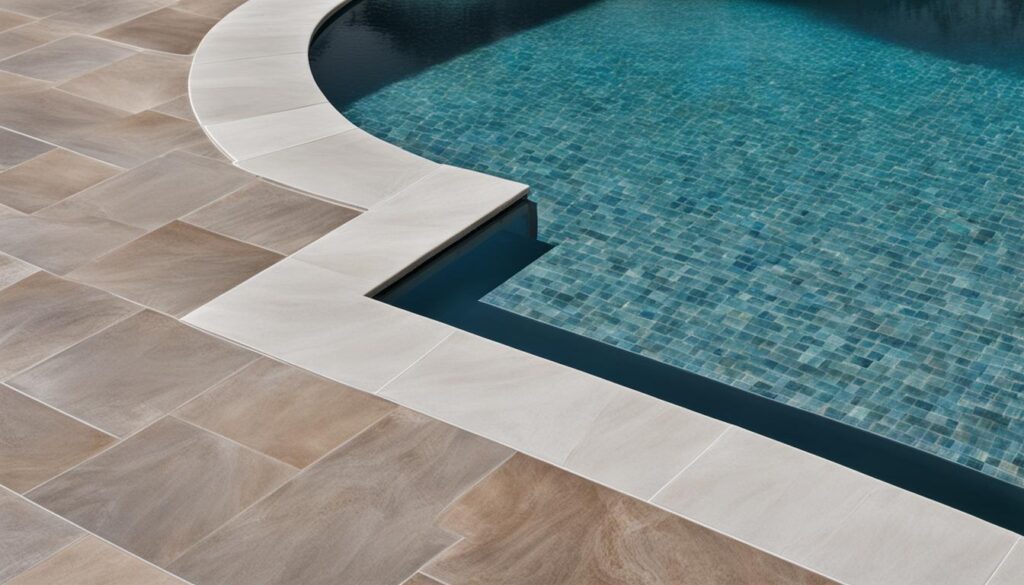
For submerged installations, white thinset and E-Z Patch 3 offer superior performance and reliability for pool tile projects. These thinset types ensure strong adhesion and longevity, making them top choices for pool tile cement applications.
Understanding the Significance of Thinset for Pool Tile Applications
Thinset is a special glue that’s super important when putting tiles in pools. It helps stick the tiles to the surface and is really good at handling water. This is key because pools are always wet, and you don’t want your tiles to fall off or crack over time.
Picking the right thinset for underwater use is really important. A good thinset keeps everything in place, so you don’t have to worry about tiles coming loose. High-quality thinsets have a lot of benefits: they stick well, last longer, and make your pool look nice.
Also, using a good cement-based grout can help keep water out. This means less chance of mold or mildew growing where it shouldn’t. So, using both a strong thinset and grout not only makes your pool pretty but also makes sure it works well for years.
Benefits of Using High-Quality Thinset for Pool Tile Projects
High-quality thinsets are made just for tough places like swimming pools. They often come with extra features like antimicrobial protection, which helps stop mold and mildew from forming—something that happens a lot in wet areas.
Polymer-modified mortars are even better because they stick stronger than regular ones. This means that even when there’s pressure from water or people walking around the pool, your tiles will stay put. Spending money on quality thinset now can save you from needing repairs later; if it’s done right at first, you won’t have to worry about fixing loose tiles down the road.
So remember, picking the right thinset isn’t just about how things look at first glance; it’s also about making sure your pool stays safe and functional over time. Choosing high-performance mortar is a smart choice for keeping your swimming pool project looking great while lasting long!
Types of Thinset for Submerged Pool Tile Installations
White Thinset
White thinset is a popular choice for pool tile installations, whether underwater or above water. It sticks really well, making it great for areas where tiles are always in contact with water. This type of thinset is polymer modified, which means it’s flexible and can handle changes in temperature and water pressure without cracking. Plus, it’s waterproof, so the bond stays strong over time.
When picking white thinset, think about what kind of tiles you’re using. It works well with glass tiles, ceramic tiles, porcelain tiles, and even natural stone tiles. This makes it a good fit for different pool designs and looks. Always check the manufacturer’s instructions on how to mix and apply it to get the best results.
E-Z Patch 3 (White)
E-Z Patch 3 (White) is made just for submerged installations and does an awesome job in deep-water settings. It’s known for setting quickly and has strong bonding properties that keep tiles firmly in place even when they’re wet all the time. This thinset also resists UV damage, making it a smart choice for outdoor pools that get a lot of sun.
To use E-Z Patch 3 effectively for pool tile settings, make sure to prepare the surface first. Cleaning and leveling it before you start will help with adhesion. Following the mixing instructions from the manufacturer will help you get the right consistency and coverage. This thinset is especially useful for tiles that see a lot of foot traffic or are exposed to harsh chemicals often found in swimming pools.
Comparison of White Thinset vs. E-Z Patch 3
When you compare white thinset and E-Z Patch 3, each has its own strengths depending on what your project needs:
- White Thinset: Works great with many tile types; it’s durable and flexible.
- E-Z Patch 3: Best for tough environments like deep-water pools; sets quickly while providing strong adhesion.
Choose based on what fits your installation needs best to make sure your pool tiling project lasts long and looks good!
Additional Considerations for Submerged Pool Tile Thinset Selection
When choosing the right thinset for submerged pool tile installations, several key factors come into play. Understanding these elements can help ensure a successful project.
Factors to Consider When Choosing Thinset- Tile Size, Water Depth, and Traffic Volume
The size of the tiles is important when selecting the appropriate thinset. Larger tiles usually need a different type of thinset compared to smaller mosaic tiles. This is because bigger tiles may require more support and a stronger bond to avoid cracking or coming loose over time.
Water depth also plays a big role in your choice of thinset. In deeper installations, the pressure from the water can affect how well the mortar holds up. So, using high-performance mortar that can handle these conditions is key for durability.
Lastly, think about how much foot traffic will be around the pool area. If your pool gets a lot of use, you’ll want a tougher adhesive to prevent wear and damage over time. A strong thinset will help keep your tile installation intact.
Modified Thinset- Enhanced with Polymers or Latex for Increased Flexibility and Adhesion
Modified thinsets are specially made for tough environments like pools. These types often include polymers or latex additives that boost flexibility and adhesion. This improvement is especially useful in submerged applications where movement can happen due to temperature changes or water pressure.
When using modified thinsets, it’s important to follow manufacturer guidelines closely regarding mixing and curing times. Sticking to these instructions helps ensure good results so your tile installation performs well under various conditions.
Rapid-Set Thinset- Fast-Curing Option for Quick Tile Installations
If you’re looking for efficiency without losing quality in your pool tiling projects, rapid-set thinsets are a great choice. These products cure quickly—often within hours—so you can finish projects faster than with traditional options.
However, pay close attention during application since their quick-setting nature needs precise timing when handling and positioning tiles. Being prepared helps you make the most of this fast-curing option while ensuring a solid bond.
Grout-Setting Thinset- Combined Function of Thinset and Grout Suitable for Small Tile Installations
Grout-setting thinsets combine both adhesive properties and grouting capabilities into one product. This makes small tile installations easier by saving time during application.
While using grout-setting thinsets can be efficient, careful application techniques are necessary to ensure even coverage and proper setting of the tiles without losing durability. Following best practices leads to an installation that lasts longer.
Environmental Conditions- Consideration of Temperature Fluctuations and Exposure to Chemicals Such as Chlorine or Saltwater
Understanding environmental conditions is key when picking the right type of thinset for your pool project. Factors like temperature changes or exposure to harsh chemicals such as chlorine or saltwater should be considered.
Choosing products specifically designed for these situations is smart; they often have waterproofing membranes or additives that boost resistance against chemical damage. This consideration helps keep your installation intact over time despite challenging conditions.
By evaluating factors like tile size, water depth, traffic volume, modified options, rapid-setting capabilities, grout-setting functions, and environmental conditions, you’ll be able to choose the best type of thinset suited for your specific submerged pool tile installation needs while maximizing durability and longevity.

Installation Tips and Best Practices for Submerged Pool Tile Thinset
Getting your pool tiles installed right starts with proper surface preparation. First, clean the surface really well to get rid of any dirt or stuff that could mess with how well the thinset sticks. A clean surface is key to a strong bond, which helps avoid problems later on. Make sure the surface is level too; if it’s not, your tiles might end up uneven, which can lead to issues down the road. Depending on what kind of base you have, you might need to prime it to help with adhesion.
When it’s time to mix and apply the thinset, always check the manufacturer’s instructions for how to do it right. Getting the mix just right is super important; too much water can make it weak, while too little can make it hard to spread. For best results, use waterproof thinset made for submerged areas.
Another important step is back-buttering your tiles. This means putting a layer of thinset on both the back of each tile and where you’re sticking them down. This way, you get better contact between the tile and the surface, making sure they stay put even underwater.
As you set and adjust your tiles, take your time! Make sure they’re lined up properly and level as you go along. Using spacers can help keep those grout lines nice and even for a polished look.
Additional Considerations for Thinset Selection
When picking a thinset for submerged installations, think about things like tile size, how deep the water will be, and how much foot traffic will be around your pool area. Modified thinsets come with extra polymers or latex that boost flexibility and stickiness—perfect for spots where movement might happen because of temperature changes or water pressure.
If you’re in a hurry and need quick results, rapid-set thinsets are great because they cure fast without losing quality. High-performance mortars are another option—they offer strong shear bond strength and resist moisture well, making them good choices for underwater applications.
Sometimes you’ll need an epoxy adhesive instead of traditional cement-based products if you’re dealing with certain types of tiles or tricky conditions.
Maintenance After Installation
Once you’ve finished installing your submerged pool tiles, keeping up with maintenance is really important for their longevity. Regularly check your tiles for any signs of damage or wear—especially look at grout lines for cracks or looseness that could let water in.
Make cleaning part of your routine to stop algae from building up or stains from pool chemicals forming. If you spot any loose or cracked grout during checks, regrouting may be needed to keep everything sealed tight around your tiles.
By following these installation tips closely while also considering all factors in choosing materials—including maintenance—you’ll boost both durability and appearance of your submerged pool tiles over time!

Maintenance and Troubleshooting for Submerged Pool Tile Thinset
Maintaining your submerged pool tile installation is super important for keeping it looking good and lasting a long time. Regular inspection and cleaning help you spot any wear or damage early on. You should check the thinset condition often to see if there’s any debris or algae buildup that could affect how your pool tiles look and work.
Inspection and Cleaning
Start by looking closely at the tile surface for any discoloration or odd spots. Pay special attention to areas where water doesn’t flow as much, since these spots can gather dirt more easily. Use a soft brush or cloth to gently scrub away dirt or algae that may have built up on the tiles. If you find tough stains, try using special tile cleaning products made for underwater use. Just make sure any cleaner you choose is safe for your thinset so it doesn’t get damaged.
Regular inspections not only keep things looking nice but also help prevent bigger problems later on. Keep an eye on the thinset condition; if you see cracks or loose areas, act quickly.
Regrouting
As time goes by, grout lines can become loose or cracked because of water pressure and movement. Fixing these issues right away is key to stopping water from getting under the tiles, which can cause even more damage. Here’s how to regrout:
- Remove Damaged Grout: Carefully take out any loose or cracked grout with a grout remover tool.
- Clean Thoroughly: After removing old grout, clean the area well before putting in new material.
- Choose Quality Grout: Pick a high-quality premixed grout that’s suitable for underwater use; this helps it stand up to tough conditions.
- Apply New Grout: Spread the new grout evenly between tiles with a float, smoothing it out for a nice finish.
By regrouting when needed, you’ll keep both functionality and appearance in your pool area.
Repairing Thinset Failures
If the thinset itself has failed—shown by cracks or if it’s coming off—the repair is necessary to keep everything sturdy. Depending on how bad it is:
- Minor Repairs: For small issues, use a repair kit made just for thinset applications underwater.
- Severe Failures: If there’s serious damage or you’re unsure about fixing it yourself, it’s best to call in a professional contractor who knows about pool tile installations.
Fixing thinset failures quickly not only makes things safer but also keeps your pool looking great.
By sticking to these maintenance tips and addressing problems as they pop up, you can really extend the life of your submerged pool tile setup while keeping it an attractive part of your outdoor space.

